Composting for Beginners
Click here for a colorful introduction to the world of composting food scraps.
Lawn trimmings and food scraps together make up nearly a quarter of America’s municipal solid waste stream. That is a lot of waste sent to landfills. Composting offers the benefits of resource conservation and efficiency while producing a useful product from organic waste which is diverted from landfills. Vermont’s Act 148 Universal Recycling had a timeline for diverting food scraps beginning with the largest generators (2 tons/week) as of July 1, 2014 and concluding with everyone in the state by July 1, 2020.
Composting Benefits
- Reduces the stink in your garbage bags. With all that wet stuff gone, your trash is lighter and less putrid.
- Reduces global warming. Food decomposing in the landfill produces methane, a supercharged greenhouse gas; in your backyard compost bin it doesn’t.
- Saves space for longer-lived landfills.
- Produces a great soil amendment for your garden.
- Reduces the cost of getting rid of your garbage–especially when you pay by the bag.
- Returns nutrients to the soil such as phosphorus, potassium, magnesium, zinc, manganese, iron and boron.
- When added to the soil, compost helps promote root development, enhances retention of water and nutrients, and makes the soil easier to cultivate.
- When used on the surface of the soil as mulch, compost reduces rainfall run-off, decreases water evaporation from the soil, and helps to control weeds.
How to Make Compost
Composting in your backyard…it’s easy, saves you money, and produces a great soil amendment for your garden. Basically, composting is just collecting kitchen scraps and leaves and putting them in a pile or bin. Then Mother Nature does the work of turning it back into soil. Composting can be done with almost no effort. Just add equal amounts of kitchen waste and leaves from the autumn leaf drop and …compost happens!
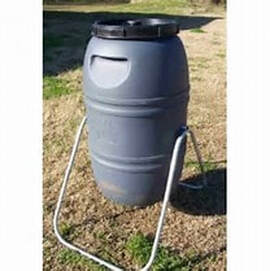
Download and print out an order form or contact us at 674-9235 for an order form to purchase a Soil Saver backyard composter at a discounted price.
There are several ways to compost:
1. The Lazy Composter
2. The Green Thumb
3. The Scientist
4. Using Worms (Indoor Composting)
The Lazy Composter
Designate a good spot.
A good spot to compost is one where you won’t mind the sight of the bin and one that’s not too far from the door (the farther away the bin, the more energy it takes to bring stuff out to it, and worse yet, in the winter you’ll have to shovel the path!). The spot should allow the bin to be set on the earth (we want water to drain out and earthworms to visit). It would also be good if the spot had room for two or three bins.
Decide on a bin.
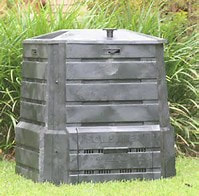
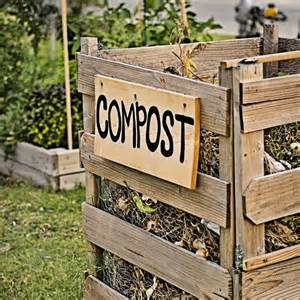
A good size pile is about a cubic yard (3-feet wide, 3-feet deep, 3-feet high) or a little smaller. Commercial bins made of black recycled plastic are good at keeping raccoons at bay and keeping things neat, and thus are usually neighbor-approved. Other successful designs include: tying four shipping pallets together upright; a circle of chicken wire; chicken wire on a wooden frame; or simply a hole or depression.
Collect leaves from the yard.
You may have heard of “compost recipes,” complicated mix ratios of all sorts of stuff. The Lazy Composter says “Forget it!” Just put as much “green” stuff as “brown” stuff in your bin. The stuff from your kitchen is the “green” stuff. “Brown” stuff is autumn leaves, sawdust, or even shredded newspaper. Collecting leaves in a pile or chicken wire bin next to your compost bin simplifies everything. Remember to collect leaves while raking in the Fall, or raid last year’s pile.
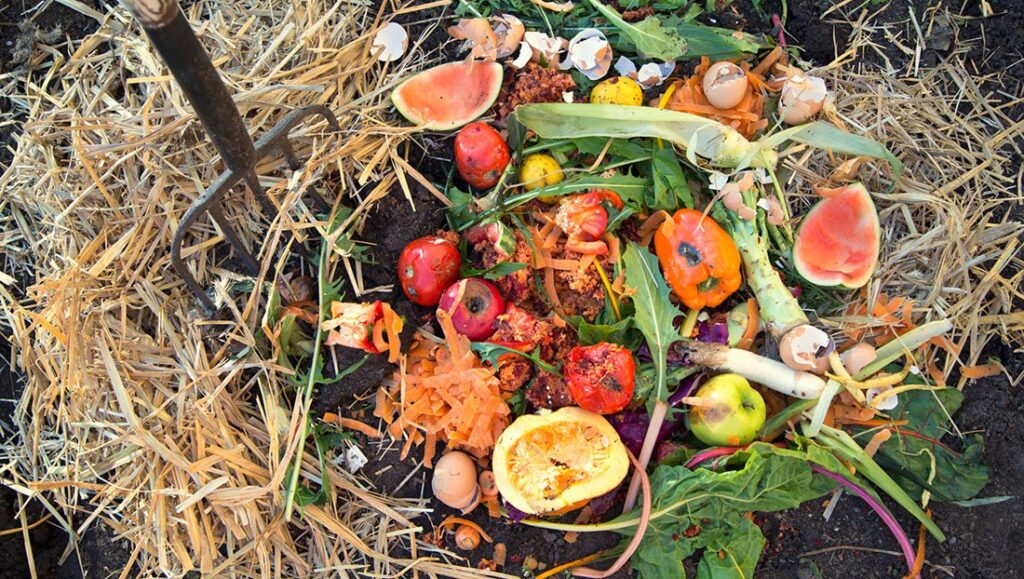
Collect scraps in the kitchen.
Collect veggie scraps, discarded leftovers, moldy bread, etc. Keep bones, meats, fats, and oils to a minimum, these attract critters (actually, reducing the amount of meat in your diet is one of the best things you can do for the environment!). Many people use a small bin on the countertop such as an old Cool Whip tub, or ceramic jar (nice ceramic containers are sold expressly for this purpose, but they can be costly, i.e. $40), or simply a plastic bag. Some people put their scraps in a little trash can under the sink lined with a plastic grocery bag. Take it out when you have to. The Lazy Composter takes it out once or twice a week, maximum. It really doesn’t smell because there’s little to no meat products. Neatniks can take it out daily as part of their routine.
Cover with leaves.
Like mentioned above, just dump about an equal amount of leaves on top of the scraps you just dumped in the bin. Harvest in a year or two. Some say “turn the pile carefully every 2.6 days, ensure 48.5% water saturation…” Forget it! Compost was happening long before the dinosaurs. The Lazy Composter says leave it be for a year or two, and it will happen all by itself. Maybe have two bins and use one every other year, leaving a bin’s worth just to sit and do its thing for a year.
Nine Steps to Green Thumb Composting
There are three easy rules to remember when composting your organic waste at home – chop, mix and maintain. Chop the compostables. The more you chop, the faster the decomposition process. Mix dry-woody materials with moist-green ones for a balance of nutrients, air and water. Maintain moisture level as damp as a wrung-out sponge. This helps compost break down and prevents it from becoming wet and smelly.
Step 1
Select a suitable site. This means a convenient, out-of-the-way spot. The area does not have to be large, a 4-cubic-foot pile of material will yield about 1 ton of compost. It should be relatively shaded and shielded from the wind to enhance the decomposition process. Avoid getting too close to trees where roots may eventually penetrate the pile.
Step 2
Enclose the site. Containing compost will keep the yard neater, keep animals out of the pile, and will lead to more efficient composting. The enclosure should be at least 3 cubic feet, the smallest size considered practical. Snow fencing, chicken wire, concrete blocks, wooden pallet, hay bales, and wire mesh are all excellent materials that can be used to frame the site.
Step 3
Prepare the site – To assure a properly ventilated, well-drained pile and quick composting, line the bottom with branches, cornstalks, straw or wooden slats.
Step 4
Collect your compostables – Nitrogen (wet-green) materials include: grass clippings, fresh garden weeds, manure, coffee grounds with filters, vegetable and fruit scraps. Carbon (dry-brown) materials include: dry leaves, egg shells, hair, wood ash, straw or wood shavings, shredded paper and cardboard. Be sure not to include meat scraps, dairy products, pet manure, oils and bones, they attract animals and form maggots. In addition, leave glass, plastic, stone and metals out of your pile. These wastes should be recycled at your local recycling program.
Step 5
Shred or grind the material – While this step is not always necessary, shredding will speed up the decomposition process and enable you to use your compost sooner.
Step 6
Form your compost pile – Begin your compost pile with a 6-inch layer of collected organic material. Adequate moisture is essential at this point. Moisten the dry parts lightly and mix with 1- to 2-inch old compost, garden soil, manure or nitrogen fertilizer. This layer is vital to the success of the process because it maintains the organisms that cause decay and also helps to keep the nutrients and moisture in the pile.
Step 7
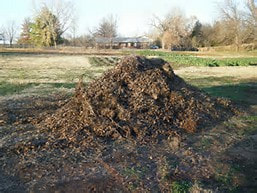
Add to your pile – Do not add thick layers of any kind of waste. Alternate layers of brown and green materials, keeping a 50/50 balance of wet to dry. Make sure no material layer is more than 4-inches high. Continue to repeat step six, mixing materials every two weeks, until the pile stands about 4 to 5 feet high. A wide range of materials ensures a nutrient rich compost pile.
Step 8
Turn the compost – Nature will take care of most of the work for now. It is advisable though to turn the pile every few days with a pitchfork or shovel if you would like to use the finished compost in a few months or so. Remember that turning the pile ensures all the material in the pile is fully decomposed.
Step 9
Using your compost – The finished compost will have an earthy aroma, dark color, and crumbly texture It can be used as a soil additive in your gardening projects. The material that is not ready, may be sifted out by using a fine screen and returned to the compost pile.
Better Compost and Better Science
You can be scientific about it if you want. Precise management of particle size, carbon to nitrogen ratio, moisture, and oxygen can produce better compost faster. Many web sites have details, tips, and research results to help you on your way. Here’s just one: http://www.oldgrowth.org/compost/home.html (great comprehensive site)
Common Composting Problems and Cures
Pile smells rotten and/or attracts flies:
Too wet and/or non-compostables are present. Turn, add dry-woody materials, cover pile from heavy rains and/or remove grease, etc. and turn.
Compost is damp and warm only in the middle:
Pile too small. Get more material, mix old ingredients into a new pile.
Pile not composting:
Too dry and/or too much dry-woody material. Moisten till slightly damp and/or turn, add fresh green materials or organic nitrogen fertilizer.
Pile is damp and sweet-smelling but won’t heat up:
Lack of nitrogen. Mix in nitrogen source such as fresh grass clippings, fresh manure, bloodmeal or ammonium sulfate.
Rodents in pile:
Food wastes in open bin, holes larger than 1/4 inch or non-compostables present. Turn compost and rodent-proof your bin and remove meat, grease, etc. and turn.
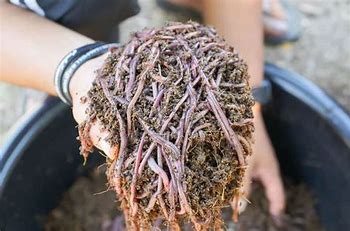
Using Worms
Another way to compost is to use worms. Red worms produce excellent compost without a yard. See if you can find the book “Worms Eat My Garbage” by Mary Appelhof. For a source of worms, look at http://www.wormman.com.
Teachers often use worms in the classroom:
- Turn garbage into fertilizer and recycle organics back to the earth
- Reduce odor in garbage cans
- Save energy with worm energy
- Reduce need for municipal landfills
- Use worms for science projects
- Excellent for year-long classroom activities
The Composting Association of Vermont (CAV) offers the Worms in School workshop for preschool through grade 8 classrooms. Click on CAV for more information.